When choosing between the soothing timeless colors and playful hues of the New York Fashion, you will without doubt be inclined to go for blues and/or pinks mixed with a classic touch of crisp white and grey or warm beige and brown.
Let us have a closer look at it :
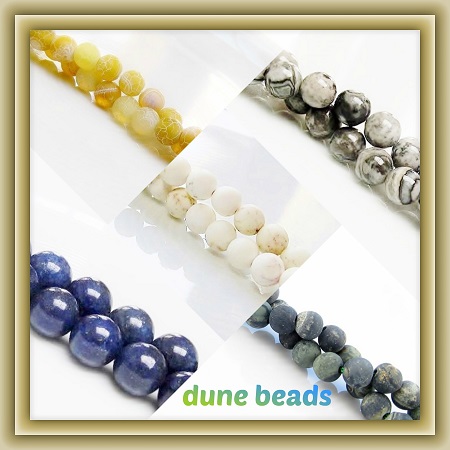
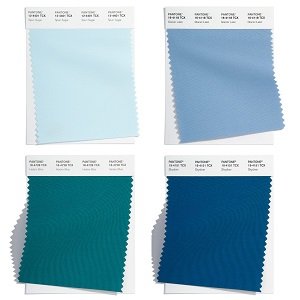
- From blue to green colors :
Spun Sugar - an airy pastel blue
Skydiver - a deep blue
Glacier Lake - a serene silver blue
Harbor Blue - a deep green-blue
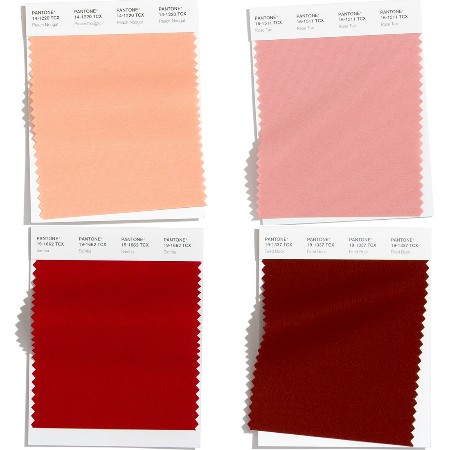
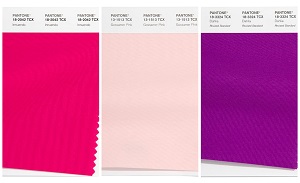
- From pink to purple :
Gossamer Pink - a soft powdery pink
Innuendo - a bright magenta pink
Dahlia - a vibrant purple pink and the middle ground between cool and warm colors
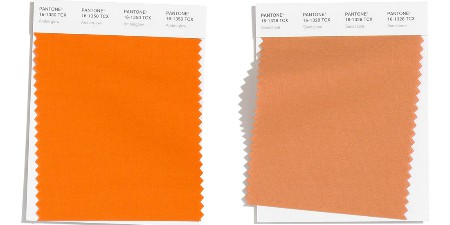
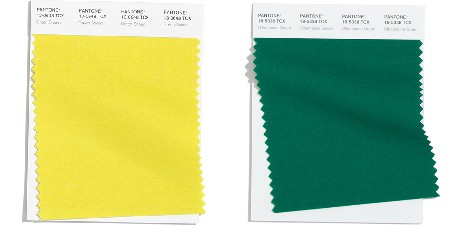
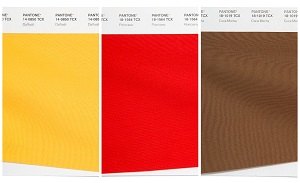
- From yellow to brown :
Daffodil - a warm, bright yellow
Poinciana - an energetic orange red
Coca Mocha - a warm medium brown
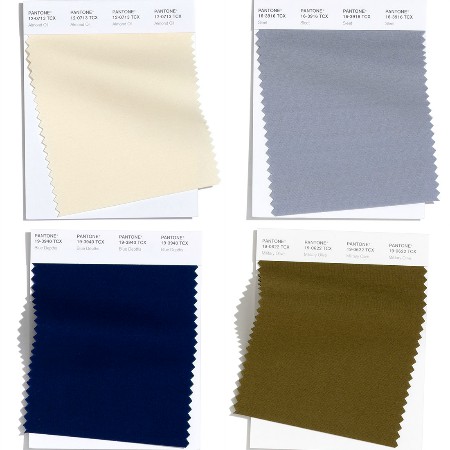
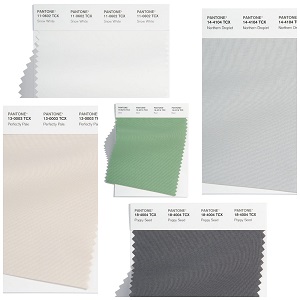
- The 2022 classic colors :
Whether it is a soft or a deep hue, all those timeless colors seem rather muted and cool this year.
Cool colors :
Snow White - a serene crisp white
Basil - a medium grey green
Northern Droplet - a pale grey
Poppy Seed - a deep grey
Warm colors :
Perfectly Pale - a pale sandy beige
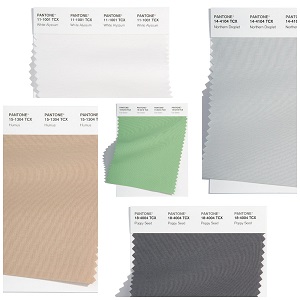
On the other hand, the London Fashion trend may be your alternative source of inspiration. Here too, you find airy pastels, but then in combination with a different set of sparkling colors where the yellow - brown and green colors are more present.
The classic colors on the other hand, with the exception of the far more pronounced beige color and the paler green, are quasi identical to those of the New York Fashion trend.
Let us see :
- From blue to green :
Super Sonic - a vibrant electric blue
Cascade - an aqua turquoise green
Fragile Sprout - a vivid yellow green

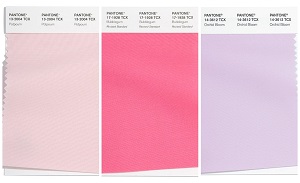
- From pink to purple :
Potpourri - a muted pastel pink
Bubblegum - a bright, cheerful pink
Orchid Bloom - a light lavender pink
SEE - part 2