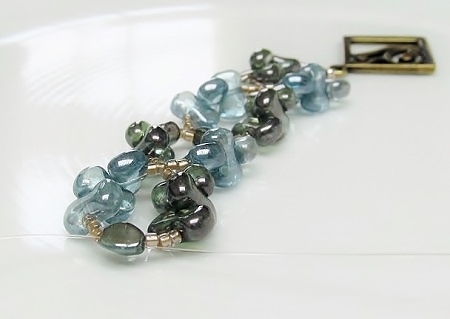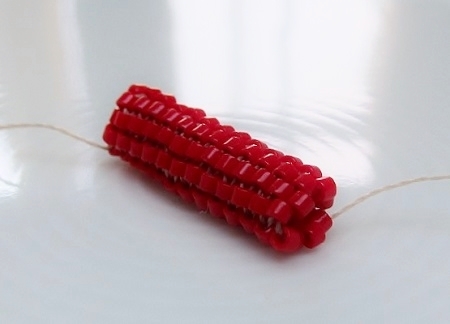
LEARN and CREATE – the not so flat, flat Cellini bracelet - part 1 Tuesday, 6 June 2017
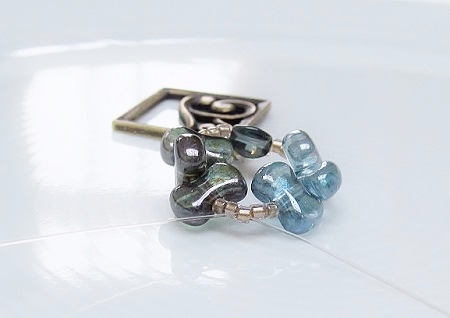
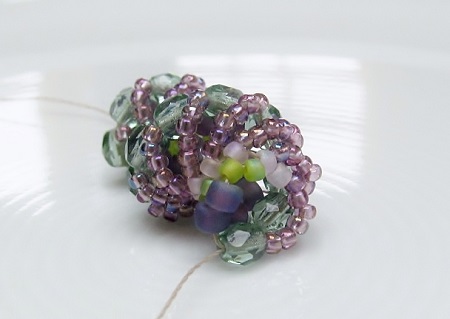
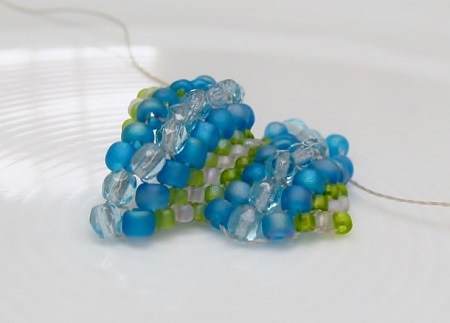
The flat Cellini stitch is nothing more than flat, even-count peyote, but with different bead sizes which will add a scalloped texture to your work and accentuate the diagonal movement in it. The design consists of small aba + large ABA waves mirroring each other.
Challenge:
- prior knowledge: flat even-count peyote
- with the change of direction at the end of each row comes a change in perspective of the color & size choice which may seem daunting at first
- with a line-up of 10 beads at the start, the double pattern of embracing a central bead is always incomplete on one side and as a consequence with each odd row you try to complete the design aba + ABA
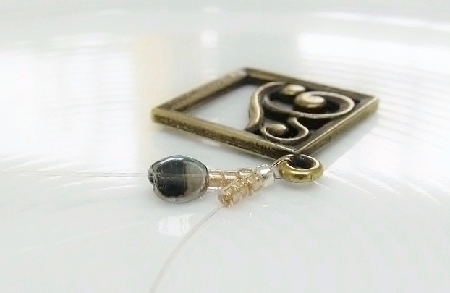
Supplies for a flat Cellini bracelet:
- 11/0 seed beads in 2 colors: 11/0 color A and 11/0 color B (or small central bead); meaning color A embracing color B
- 3x3 mm fire-polished beads (or large central bead)
- 8/0 seed beads, which will embrace the 3x3 mm fire-polished bead
- JBB toggle, thread, scissors and beading mat.
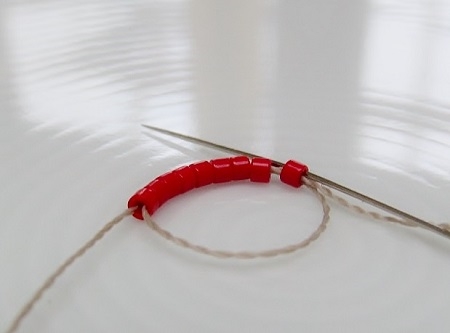
Weaving instructions for the flat Cellini:
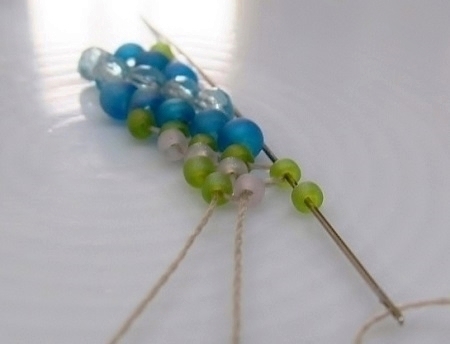
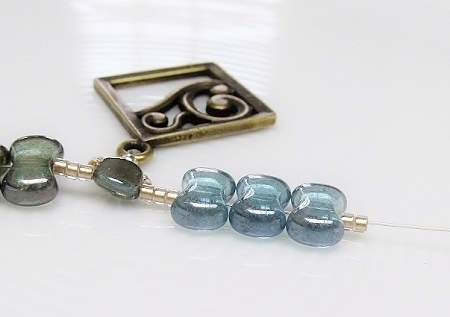
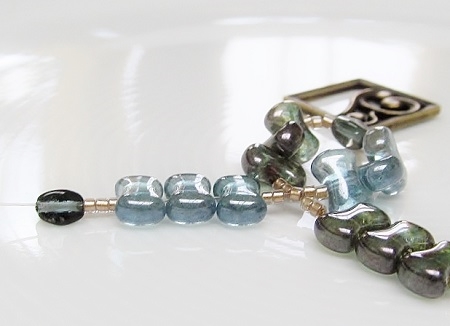
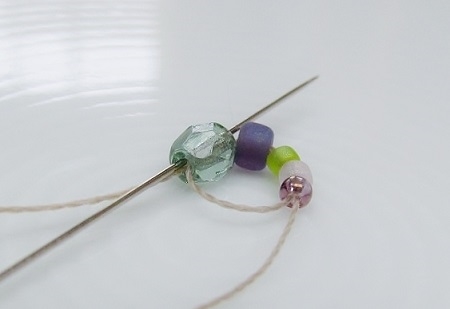
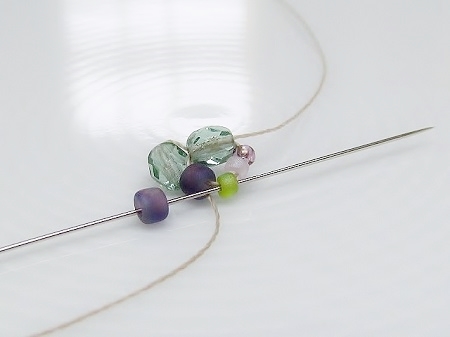
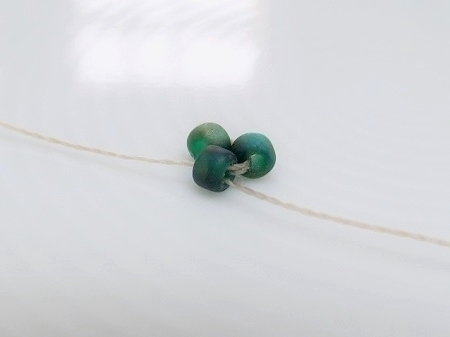
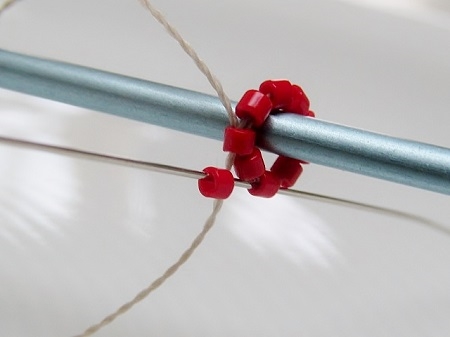
- line up little heaps of beads in the sequence you want to maintain
- leave about 40 cm tail thread so you may easily add your clasp afterwards
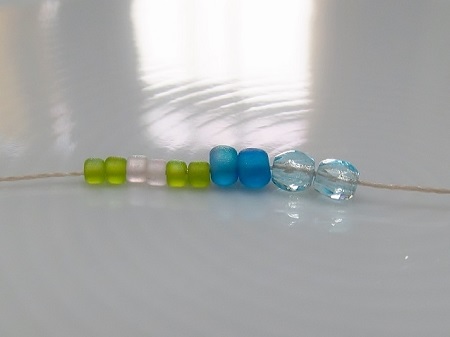
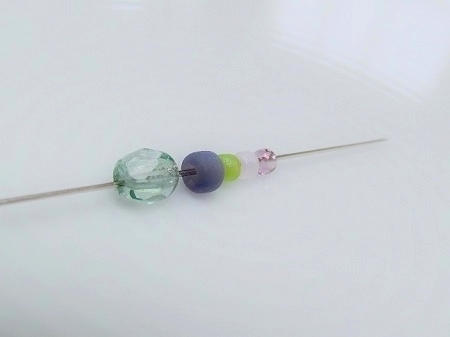
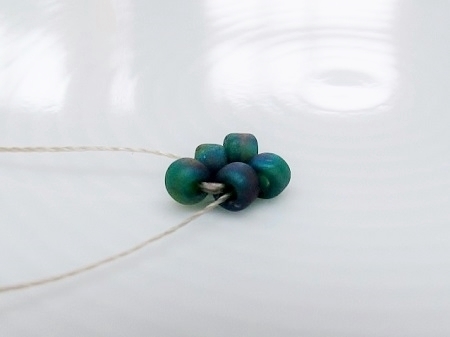
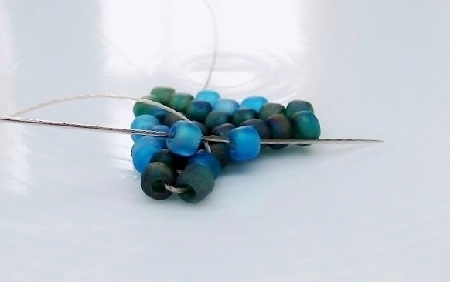
- set up row one and two: two 11/0 color A, two 11/0 color B, two 11/0 color A, two 8/0 and two 3 mm beads
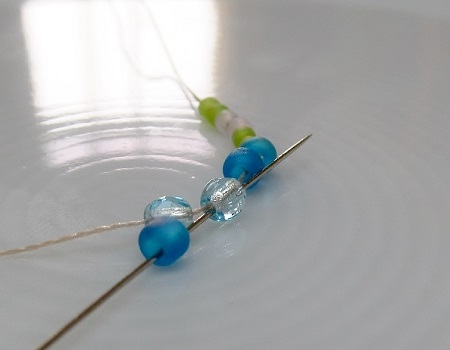
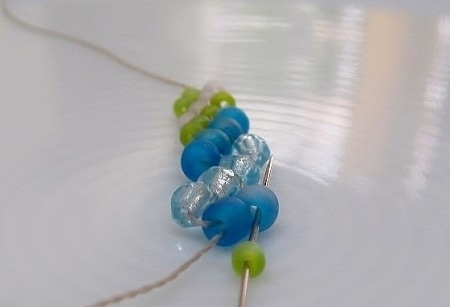
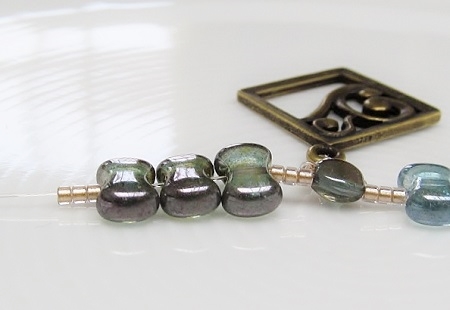
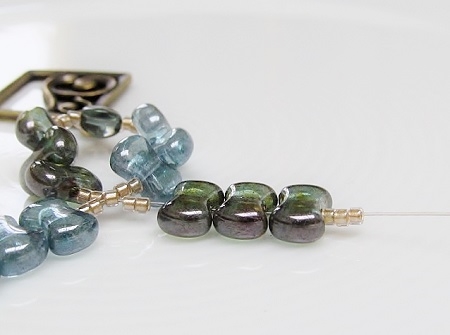
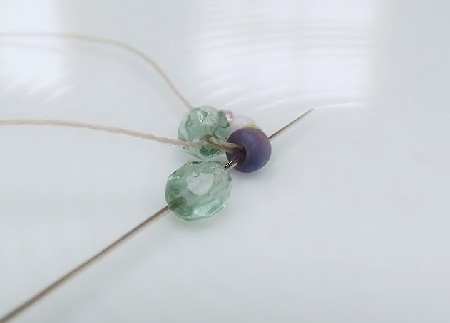
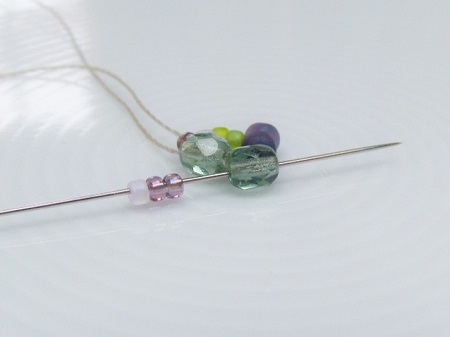
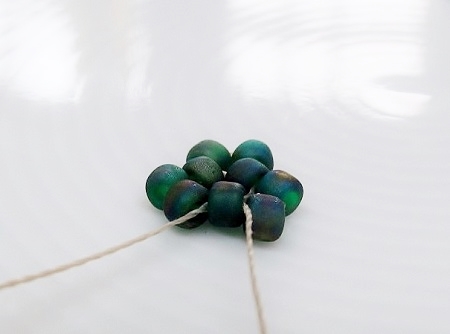
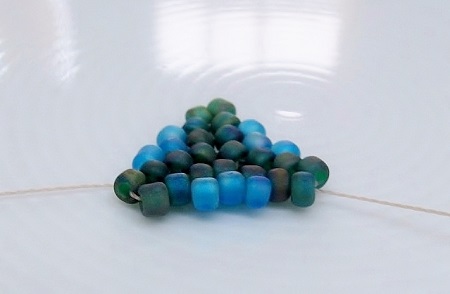
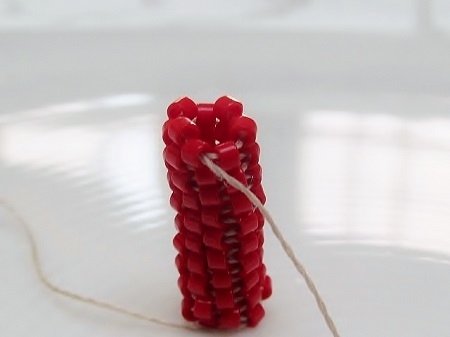
- row three in regular even-count peyote: skip a 3 mm bead, add a 8/0, skip a 8/0 bead, add a 3 mm bead, skip a 11/0 A bead, add a 8/0, skip a 11/0 B bead, add a 11/0 color A, skip a 11/ A bead and add a 11/0 color B
- you end up with 8/0, 3 mm, 8/0 + color A, color B on top = ABA + ab (a is missing) pattern
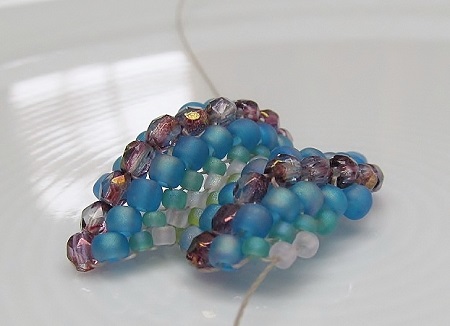
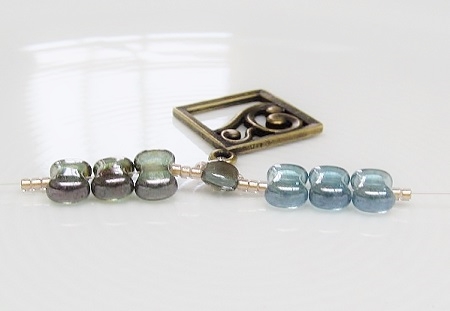
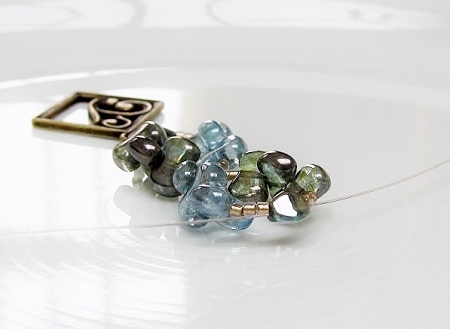
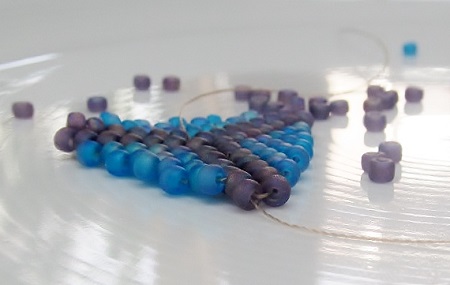
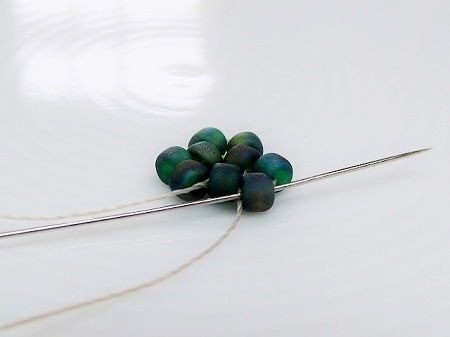
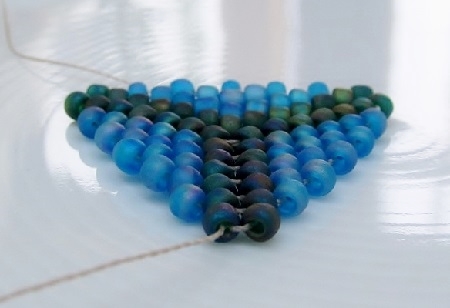
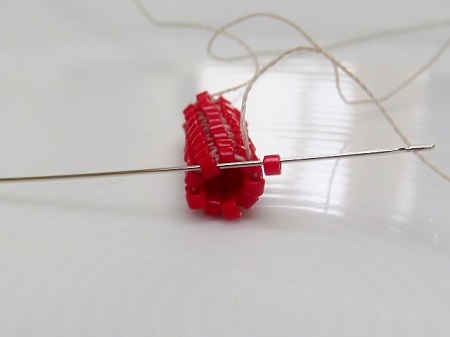
- as a consequence, you have added a bead in the same color as the one you just went thru and will do so whenever you work towards the tail

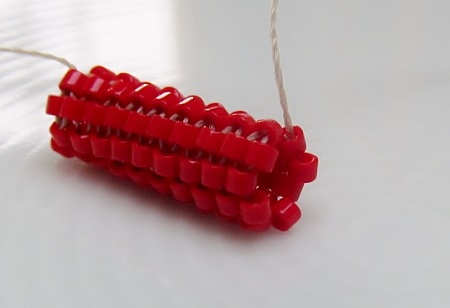
- the moreover, you added a bead to each second bead of a pair and when you look back on your work you will see that the beads are lined up diagonally
SEE - part 2